Creating Instagram grids with headers and footers in Linux -
a 5 minute readIn several events I have been tasked to design a poster or a banner for social media, in particular Instagram. Compared to other social media platforms, Instagram has a particular “style” of post: posts are predominantly square—and as such—the feed is optimized for squares. A common occurance is creating “grid posters”, that is, posting in such a way that when your profile is viewed, one giant image will appear instead of clearly separated images.

Courtesy @uifilmfestival
The simple way is to just create a large design and then split it into separate square tiles. All well and good—however, in a lot of profiles for events and organizations, an interesting thing happens when you open one of the squares.
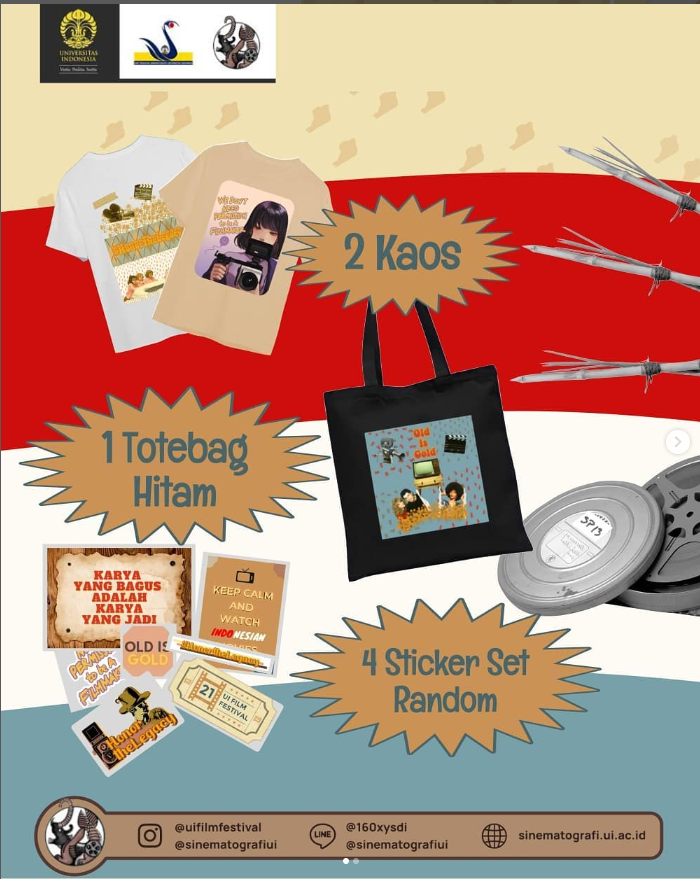
Courtesy @uifilmfestival
You will find that these posts aren’t just simply squares, but have a header and a footer. Despite the extra height, Instagram still crops them for the grid. If you are designing straight to a canvas for a single post, this can be done easily, but in the context of an image made out of separate images, it can be a burden. Personally I find this can be worth the effort, because it makes the post seem more professional.
It’s possible to use features like artboards in Photoshop and Illustrator to create such posts, however from the sources I found, you might still find yourself copying and pasting the header and footer for every tile.
I use Inkscape for my work, and while there’s no native feature I’m aware of to export as a grid of images at present, I can use other tools like ImageMagick to do that with the help of Bash scripting. Scripting little tasks in particular is one of the reasons why I’ve come to like Linux—having used it as a daily driver since at least 2015—and in this particular case will let me iterate quickly over the grid design, and perform ready-to-upload exports when the design is finished.
Essentially, I am cropping a big image into separate tiles, and then pasting it into a template. The downside of this approach is I need a 4:5 post template that remains the same, which means there is less opportunity to blend it seamlessly with the post itself. More experimentation would be needed to accomodate this, but in this post I’ll simply describe the way I’ve done it for my tasks.
Scenario
- The account I’m uploading designs to has a standard post image aspect ratio of 4:5.
- A square (1:1) area is set aside at the center for the main content, as Instagram will crop exactly this area when the post is displayed on a grid.
- Each post must have a header (for the logo) and a footer (for contact information), this additional stuff is already available as a ready-to-use image.
- I have to design a banner for the feed grid while minding the above requirements.
For sending off to the Public Relations team, I’m expected to send individual images for posting.
What did I do?
Design aspects
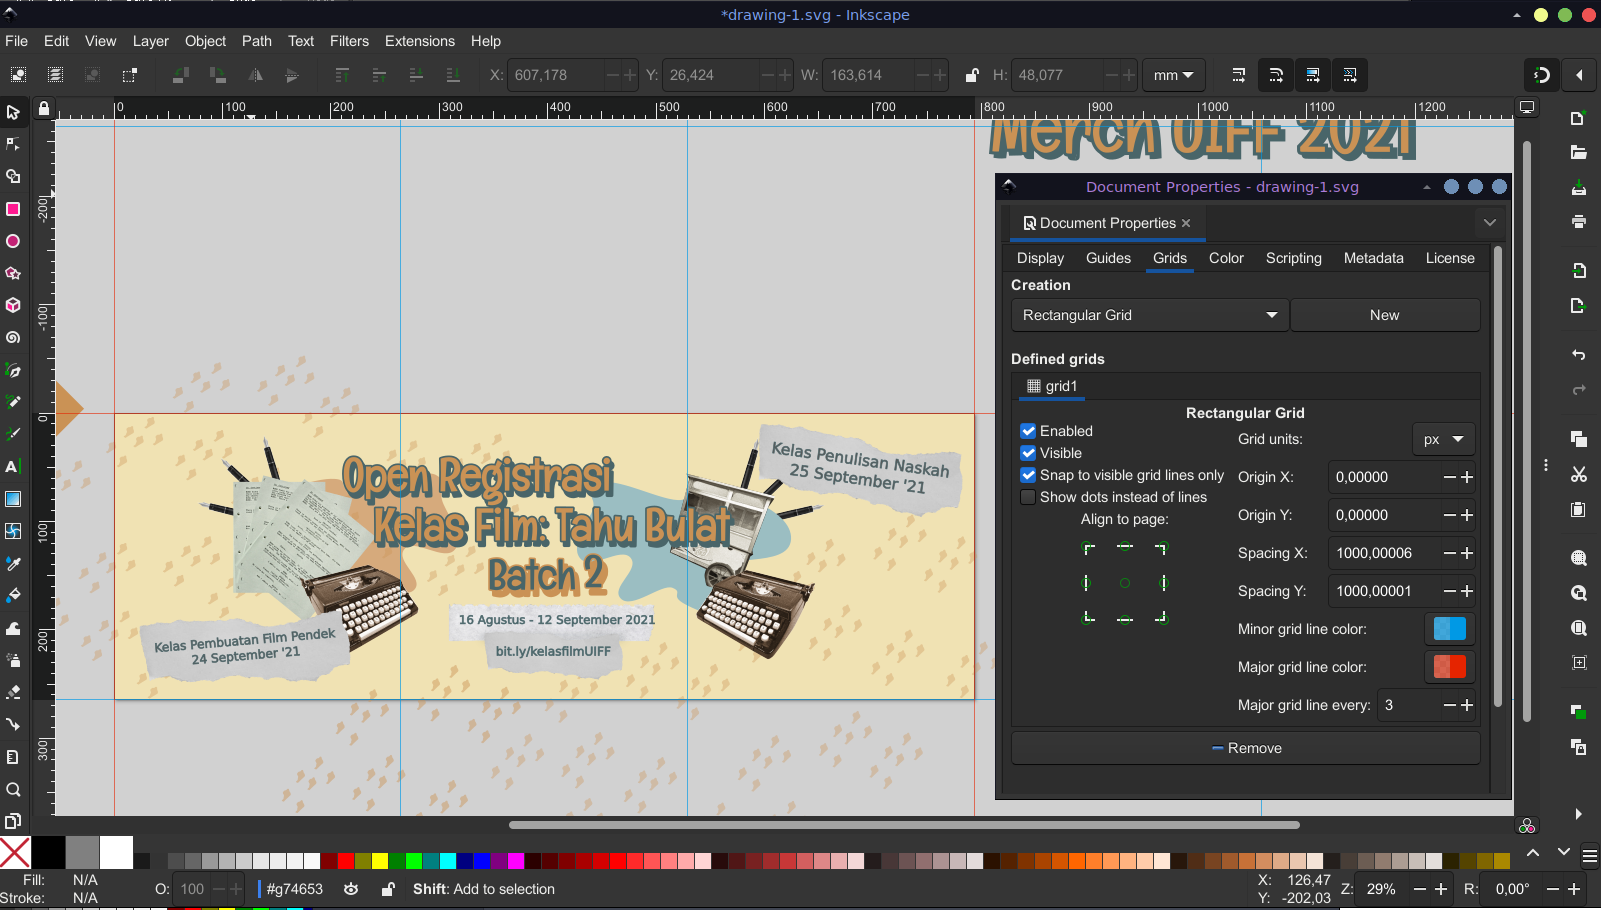
First I designed one big poster directly, where the canvas width and height is a multiple of 1000 each. I chose 1000 as the size to ease calculation and size estimation. Since Instagram will consistently display 3 posts each row in a profile, this means the width is going to be 3000.
As for the template, this means that its height is (5 / 4) × 1000 = 1250 px.
To help visualize what each consecutive post will look like, I set up a grid of 1000×1000. This allowed me to adjust the design so that elements can be neatly focused on each square. For example, if the banner contains some detail text (for example, dates) I’d want them not to cross squares.
Other than that, there’s not much special considerations here. Once I’m done, I export the full image.
Splitting the image
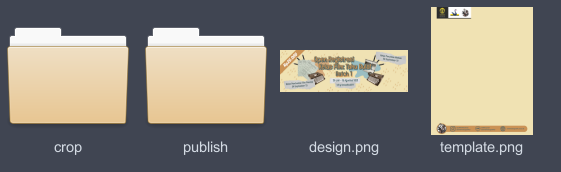
Here I transform the design into the expected format using a two step process, and I create folders for each step. I’m going to call these folders crop and publish.
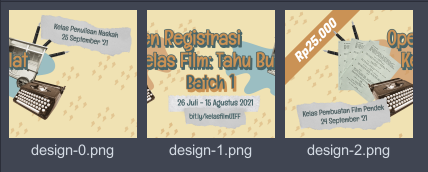
I split the image into 1000×1000 each using ImageMagick:
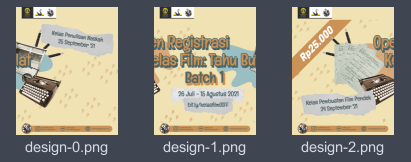
magick design.png -crop 1000x1000 -reverse crop/design.png
Assuming I have a 3000×1000 image, this will output 3 files inside crop: design-0.png, design-1.png, design-2.png, in the order in which it’s to be uploaded. Normally the crop will go from left to right and top to bottom, specifying -reverse makes the crop go the other way: right to left, bottom to top.
Overlaying the images on top of the template
I have a template.png, in which each image needs to be overlaid on top of at the center. Consider the case of one of the images resulting from the previous step:
magick composite -gravity center crop/design-0.png template.png publish/design-0.png
In order to apply it to all images in the set, I wrap a for-loop through it, and then use Bash string substitution to change the folder:
for i in crop/design-*.png; do magick composite -gravity center $i template.png ${i/crop\//publish\/}; done
${i/crop\//publish\/} means: Take i, find an instance of crop/ (the / must be escaped as \/), and then replace it with publish/.
This will give us, in the publish folder, the same images but overlaid on top of the template.png, and this will be what’s delivered.
Script
This whole process can be automated in a single script, henceforth splitdesign.sh:
#!/bin/bash

if [ $# -lt 3 ]; then
    echo "Usage: $0 [design] [template] [width of square]"
    echo
    echo "Split a giant design image into Instagram post size and overlay"
    echo "it above a template. Outputs to a folder called \"publish\"."
    echo
    echo "Template must be the same width as [width of square]"
    echo "Design width and height must be a multiple of [width of square]"
    exit 0
fi

mkdir -p crop
mkdir -p publish

# Crop design into separate 1000x1000 images
magick $1 -crop $3\x$3 -reverse crop/$1

# Overlay posts over template
for i in crop/*.png; do
    magick composite -gravity center $i $2 ${i/crop\//publish\/}
done

# Delete crop folder
rm -r crop
(Script also available here.)
This is a convenience script which takes 3 parameters:
- The design
- The template
- How wide each square is.
For example, for posts with 1000px wide squares: ./splitdesign.sh design.png template.png 1000. Here, you’re only given the publish folder.
Hope this has been helpful!